Roman Shades: Installing the Motorized Tube
Adrian Biffen, Senior Partner
The final step in the Roman shade motorization process is to prepare the motor for insertion into the roller tube, then mount the motorized tube to the headrail.
Essentially you are installing a motorized tube above the unit, which is used as a 'winch' or 'winder' to pull up the cords that go down to the bottom bar.
Once you have it operating properly, you can use all our wall mount and hand held remote controls to open and close the shades.
If you are interested in voice control systems, check out our article series we developed about using the Node-RED visual design program (with Alexa™) for blind control (including Roman shades) ...
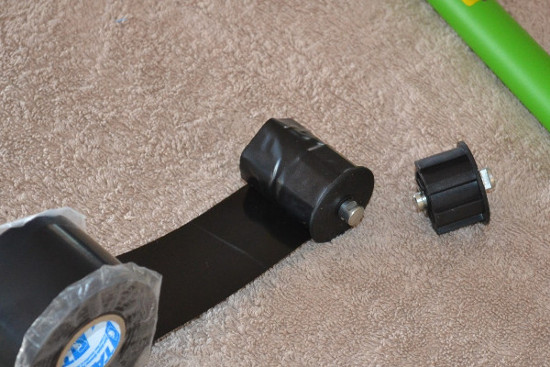
In this case, PVC pipe was used as the tube (it had an internal diameter of about 1.45 inch, 37mm). This is slightly less than the diameter of the motor drive adapter that is mounted on the motor axle.
The adapter can be easily built up with several layers of tape around it and the crown roller. These are the 2 parts that actually come in contact with the roller tube and rotate with the tube (supplied by RollerTrol).
Picture 9
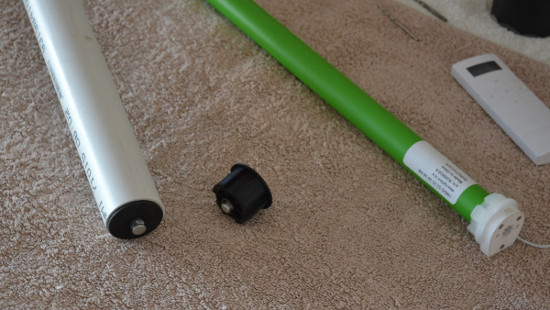
This is the non-motor end of the PVC pipe, showing the end cap idler (provided with motor). Already inserted, the idler is wrapped with enough tape to make a snug fit. The extra idler has been put there so you can see what it looks like, prior to having tape wrapped around it.
We actually prefer to use 1.25" EMT steel electrical conduit because it is very strong, inexpensive, and dampens the motor noise a lot more. You can find this at any home hardware store. The internal diameter is also a near perfect fit for our motors.
Picture 10
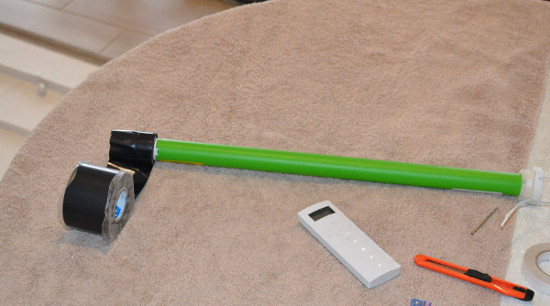
In this picture we are adding tape to the drive adapter of motor. Although our RollerTrol motors are made to fit industry standard Rollease™ aluminum tubing, the 1.25" steel conduit is also a near perfect fit.
We do recommend that you also drill a hole in the tube and use a setscrew to lock the drive adapter to the tube. This will eliminate any slippage that will upset your travel limit settings. The setscrew should not penetrate the drive adapter very far as there is an embedded steel plate inside the adapter.
Picture 11
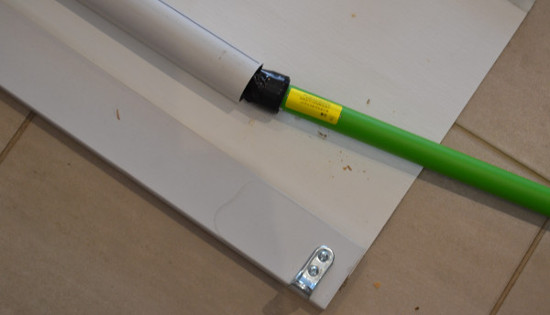
Ready to slide motor into PVC tube (drive adapter setscrew location was first marked by holding the motor beside the tube).
Picture 12
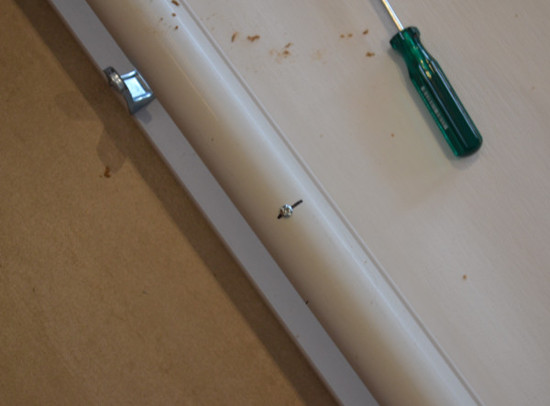
Here the motor has been inserted into the tube. As previously discussed, the self-tapping setscrew has been inserted into the drive adapter of the motor, locking it to the tube.
Picture 13

Here is the other end of PVC pipe, showing special bracket from Rollertrol that comes with the motor. This makes it easy to mount the pipe.
Picture 14
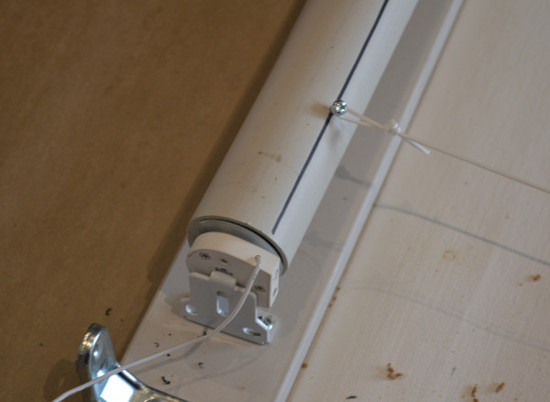
A black line was drawn along the length of the PVC pipe to ensure that each of the 4 cords would be attached accurately.
The first cord is shown, fastened to another self-tapping screw.
Once all 4 cords were attached, duct tape was added to make sure cords would not be accidentally disconnected.
Picture 15
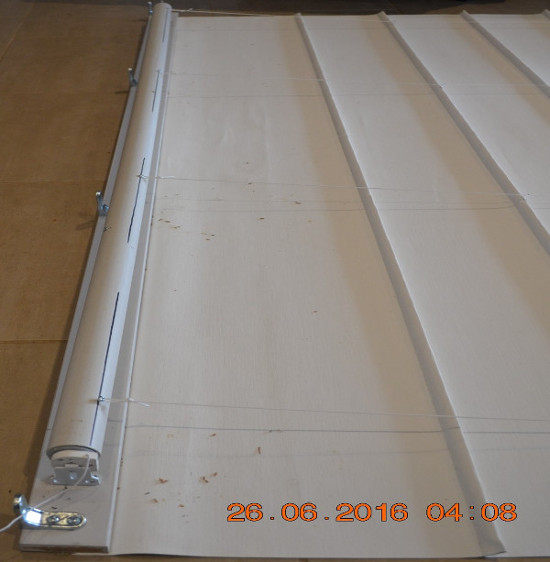
Here you can clearly see all 4 cords attached. Note that the tube can be shorter than pelmet header board, provided that all cords can be attached. This can be a good thing because the mountings for the tube will not interfere with pelmet headerboard brackets.
Picture 16
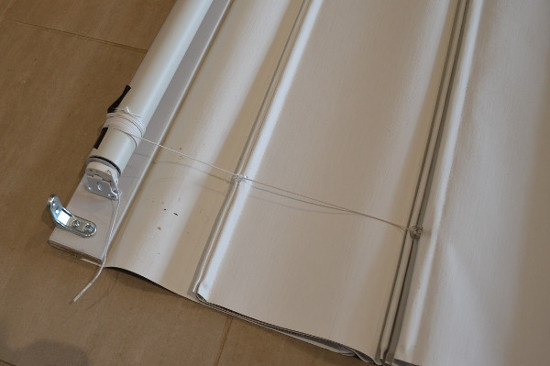
The cords wrap around the roller tube, raising the blind. Note tape under applied under the cord, helping to hold cord in place.
Picture 17
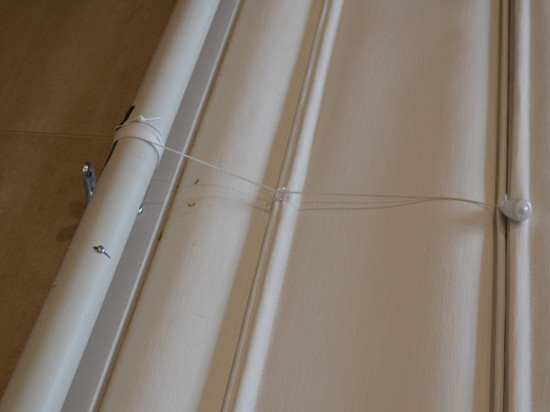
One of the centre cords rolling onto pipe. Note self-tapping screw helping to lock drive adapter (inside pipe), ensuring motor drive does not spin inside the pipe - the motor drive and pipe are locked together, but the motor housing itself is stationary.
This blind is 2000mm wide by 2100mm long, so it was fairly heavy. The material is called sail cloth. Two people were needed to remount the blind onto the wall above the window, and a total of 5 units were installed in the living area, and all are now working well.
Picture 18
Buy Roman Blind Motors & Controls In Our Online Store
A simple wireless wall mount remote control for Roman shades may be all you need to operate your remote control motors. We also have hand held units with a wall mount holster.
We also have the excellent BroadLink™ hub (with Android & IOS phone apps) that are very capable, and they may all you need for home automation. This will give you direct control over our Roman blind motors, security kits, environmental sensors, window openers, smart plugs, and many other devices.
You can purchase Roman blind motors and control products in our DIY online automation store.
Articles in this series:
Part 1: How to Motorize Roman Shades: Introduction
Part 2: Removing Roman Shade Prior to Motorization
Part 3: Installing a Wider & Stronger Pelmet Support Board
Part 4: Mounting the Roman Shade Motorized Cord Winder (you are here)
